Specialism project

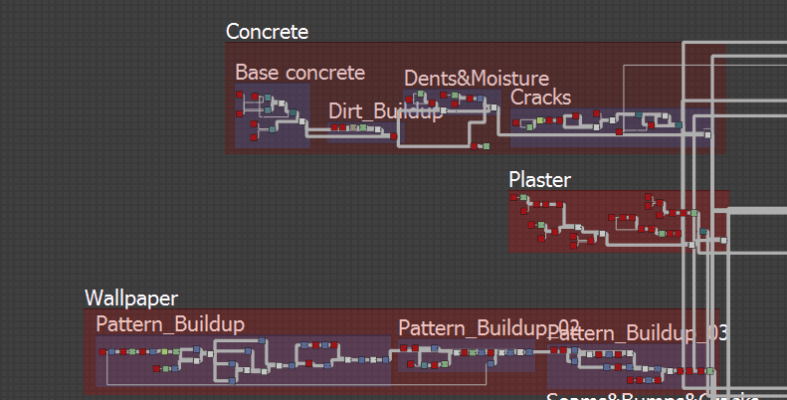
For my specialism project I’ve decided to create two textures. The two textures  I decided to make are a wallpaper texture and Cobblestone texture. For my wallpaper texture I decided to brake it down into three parts. The actual wallpaper, the plaster and the concrete wall underneath it.

sc wall

Once I did this I began to create the two different mask that will control the amount of tear to the wallpaper and the plaster.

For reference I often looked at people who made a similar texture and would compare my output maps ( Albeto, Roughness, AO and Height) to my own to see how I could improve

An example of often came back to was this texture made my an artist called Elliott Butler I really liked the way he approached the rips and tears in his wallpaper and how some are lifted and some are flat. I really wanted to try and achieve this in my own.

I also got told that I should work from real life references as it would be better because copying someone else as reference is just repeating that same mistakes that they did. So I also gathered some real life ref.

Related imageimg_0918 (1)Image result for teared wallpaperHow-To-Find-Old-Wallpaper-Patterns-1


Creating the mask was the most difficult part of the process at trying the look like a rips turned into a difficult task. With several tries I ended up combining two mask together to create the final one. The first mask was made with squares in a tile generator which gave the rip a sharp look the second was made using a clouds which gave the rips more of smooth look blending these together gave me the look I was going for and also gave me more control over the texture.

Square

Square look

Smooth

Smooth look

Blend

Blended look

Here are a couple of renders of how the wallpaper turned out.

More renders and breakdowns on my Artstation ; https://www.artstation.com/artwork/dOQd9J

For my Cobblestone texture I decided to approach it in the same way as I did for the wallpaper. I noticed in Bioshock infinite they had a lot of cobblestone texture outside so i thought for our group project it would be smart to make one to get that same feel. For the Cobble Stone texture I went out and got some references. I broke the texture down in two parts, the mud where the small rocks, gravel and stick will be and the actual rock which will have some leafs and height variation on top of the rocks.

Inset ref pics


Art ref


Although I didn’t get to finish my Cobble stone texture I will still be working on it during the group project to finish it off

screenshot004


Week 3 – Feedback

Today we had to present our art bible infront of our peers. This was the chance to get some proper feedback on my progress so far.

The top point that I found that I need to think about are my composition as some of my peers thought it was to heavy on one side which I agreed with

Week 2 – Day 4

Yesterday was our last lesson in substance designer today we went into unreal to experiment with vertex painting.

{ Insert image }

We learnt how to mix up to three different materials within unreal. We first mixed the bricks and snow together then we added another brick for variation. I don’t know if I’m going to use vertex painting in my scene my it was definitely handy to learj

Week 2 – Day 2 & 3

Today we continued making substance designer textures. They were definitely more complicated than the ones we made yesterday.

We got introduced to a lot more different nodes and played around with the shape node a lot to get the overall shape we wanted.

{ Insert images below }

Pvc.PNG    Paint_decay.PNG

Metal.PNG

We talked more about exposing parameters to have more control of the texture outside of substance designer. We.also got introduced to substance player which is one of the places we can change the parameters for the texture.

We briefly cover how to export it out in the right format for unreal and how to export it out as a bitmap.

Week 2 – Day 1

Today we had a teacher teach us about substance designer. I was really looking forward to this week as I find it really fun making textures.

At the beginning we learnt the about the basic interface and where to find the tools you need. I already knew most of this as I experimented with substance designer in my own time.

We made a couple of cool textures, one was concrete one was brick and one was

Concreate    Brick.PNG

Although I already knew most of what he taught us I really found some stuff that I didn’t know like the slope blur is a really useful node which helps you create cracks variation.

Week 1 – Day 5

Today we learnt the basics of Z brush. We learnt how to navigate around the interface and the basic brushes that we should use. The top three brushes he said are used were the Clay build – up, Trim dynamic ( mostly used for sharp rocks) and the Dam standard brush. We made a skull using a reference we found on google .

Dumb_Skull.jpg

First attempt at making the skull didn’t really turn out the way I wanted it to but I think it came out pretty well for my first time.


My second attempt came out much better the shape of the face also looked more like the reference


Week 1 – Day 4

Today I got feedback on my work and if I am going in the right direction. The first thing we spoke about is the size of my diorama. Juriaan thought my diorama was way too big and that I should cut it down to focus on the hero asset and gas pumps more.

I think it was a good idea as my scene was getting way to busy.

Blockout_Big.jpg

Another thing we spoke about is composition and colour within my scene. I already experimented with composition by using different shapes within my scene. I’m still not 100% happy with it but it is getting there.

Blockout_Small.jpg

Colour is a thing I haven’t thought about. Today I should take the time to think how colours are going to work within my scene. Lighting is also another thing I need to think about for my scene. Hopefully next week I’ll have it all sorted out.

We also briefly talked about textures and how adding small details would make it feel much more realistic. For example adding vegetation to the concrete.

IMG_20181107_135518.jpg


Week 1 – Day 3

Today I dedicated my time to collecting reference images for my Art bible and to use as reference when modelling. I found a petrol station near me which had some really good textures I could use. The gas pumps wasn’t the exact ones I want to model but I can still use the images to see how the textures on them are effected.

IMG_20181107_134950.jpg`IMG_20181107_134957.jpgIMG_20181107_135020.jpgIMG_20181107_135102.jpg


I also found some car which again wasn’t the exact model I wanted to do but it was good to see how the environment around them effected the material. With these images i’m going to start my art bible today so it’s ready for next week presentation.

IMG_20181107_145952.jpg   IMG_20181107_145335.jpg

IMG_20181107_150041.jpg  IMG_20181107_150058.jpg


Week 1 – Day 2

The second day in we started the blockout for the class diorama. I learnt a lot of new tools that I didn’t know before. Some of these tools could be really handy in future project. The main two that stuck out to me was the Quad draw. The quad draw tool looks really helpful when making organic shapes. We used the Quad Draw tool to make the land on the diorama. We also used the sculpt tool which helped make the bottom of the land look more rocky.

Blockout.jpg

Another tool we learnt was the Three Point circular Arch tool. This tool is really nice when it comes to making smooth and round curves instead of manually doing them. We used this tool to make the archway That is above the door. Overall learning both of these tool gave me a different way to approach modelling objects.


After lesson I started modelling my blockout for my gas station Diorama. So far I’ve made three different ones, just experimenting with the composition of things and how the viewer eyes will move through the scene. I still want to make a couple more just until i’m happy with the overall look of the scene.

Screen Shot 2018-11-07 at 16.11.26.png